Here are some photo's showing one way to build a rudder quickly and easily. The quick overview is cut out the shape in a thin material, tape the sides together, insert the rudder shaft, fill the inside of the rudder with epoxy. This takes about 10 min or so to do. Followed by installation in your boat.
John Fisher
Lay out the rudder shape on a sheet of 1/64 ply. On other class boats John used a single layer of a 6 oz carbon fiber layup, so you could also lay up some fiberglass for use on the star. To do a glass layup, just take a sheet of 6 oz or heavier fiberglass, a sheet of lexan or plexiglass, and some resin. The first step is to spread resin on the plexiglass, then apply the fiberglass and then make sure it is all wetted out. Once cure flex the plexiglass and the layup will pop off.
Shows the two sides cut out of plywood, these could be fiberglass instead. Straight sided shapes like shown and the star plans are easier to make.
Tape the two sides together with masking tape. With curved shapes He taped them together then insert the shaft and resin. If you use straight sides on the rudder you can tape one side and then open it up like a book, apply resin, then close and tape shut. The open book method uses less resin but only works with sq or straight sided shapes.
Note the bend John put in the shaft to prevent it from turning inside the rudder.
Shows the top open to pour in resin. John uses a syringe to pour in resin once the shaft is in place. You can add micro balloons to the resin if concerned about weight.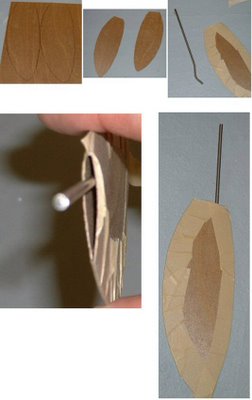
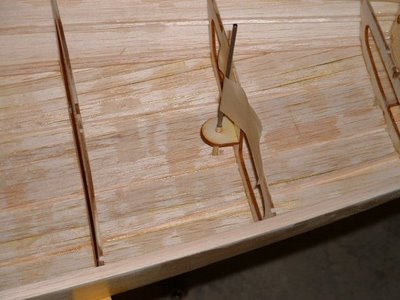
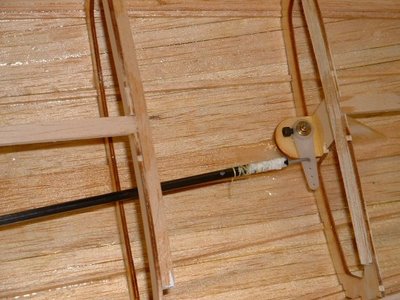
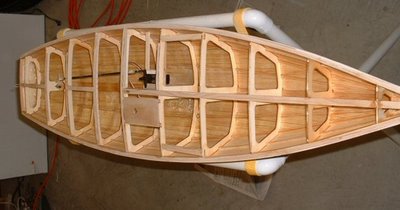
Installing Rudder in Star 45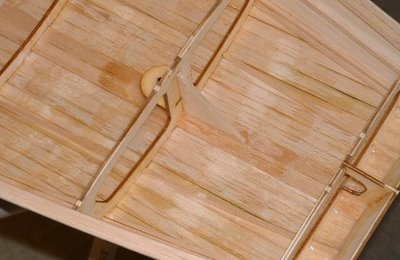
Monday, May 2, 2011
Sailing Model, AMYA Star45 Class | building rudder
John Fisher photographer
Labels:
AMYA,
boat building,
crafts,
hobbies,
modelboat,
pastimes,
R/C,
radio control,
sailing model,
wooden boat,
woodwork,
yacht
Subscribe to:
Post Comments (Atom)
No comments:
Post a Comment